When it comes to enhancing the aesthetic appeal of your kitchen or bathroom, glass splashbacks are a popular choice among many homeowners in Australia.
Not only do they add a touch of elegance, but they also offer practical benefits such as easy cleaning and heat resistance. This article will guide you through the process of how a glass splashback is fitted.
Understanding Glass Splashbacks
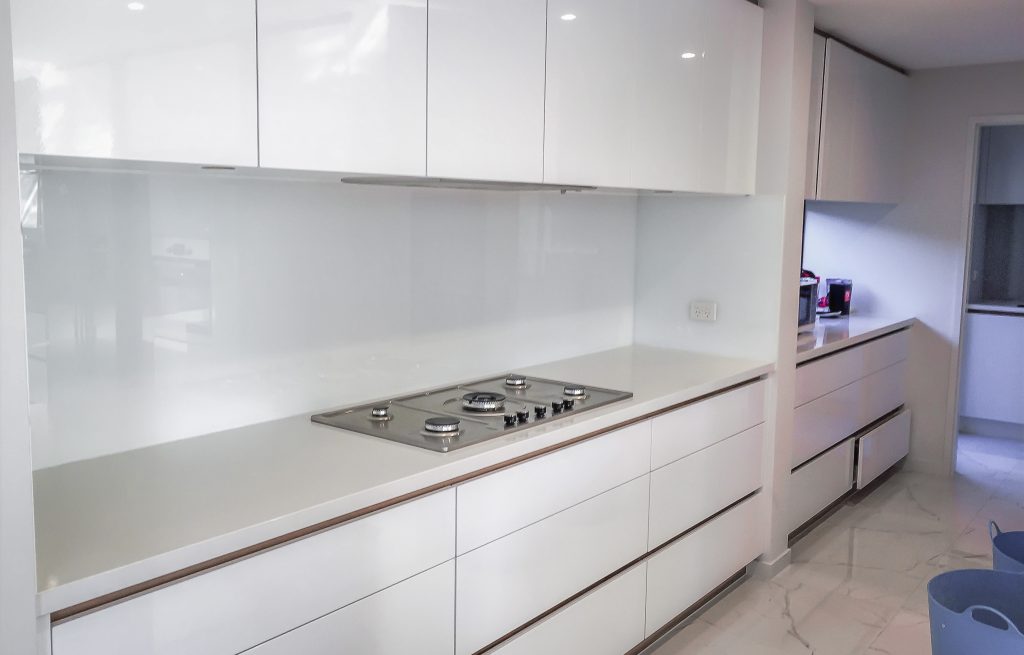
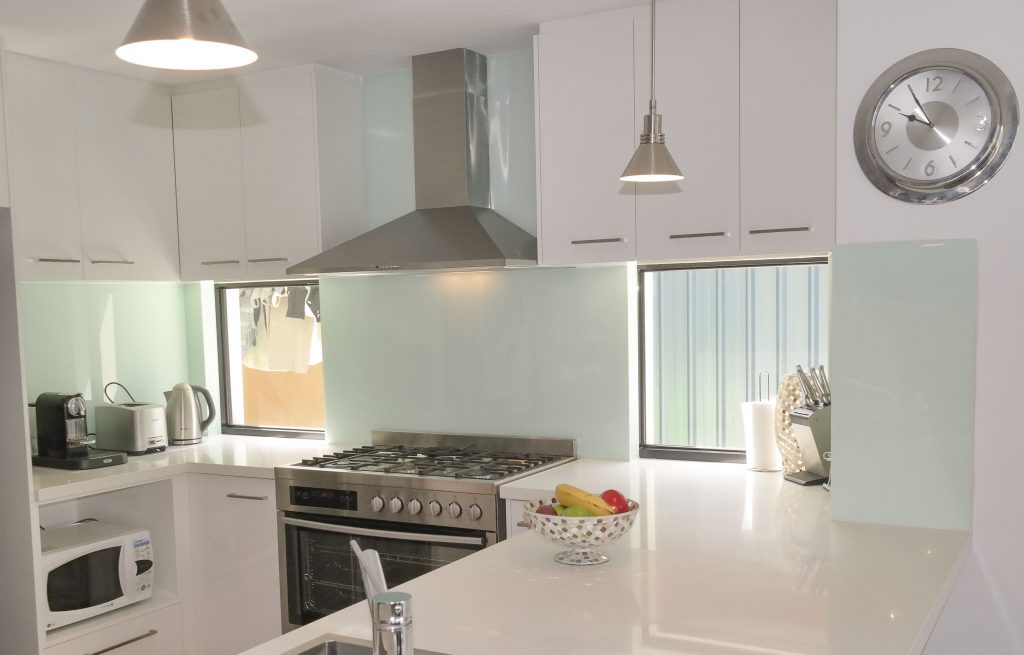
Before we delve into the fitting process, it’s crucial to understand what glass splashbacks are and why they are a preferred choice for many. Glass splashbacks are panels made from toughened glass that are installed on the walls behind sinks, cooktops, a cooker hob, or worktop areas in kitchens and bathrooms.
They serve a dual purpose – protecting the walls and cooking space from splashes, stains, and heat, while also adding a sleek, modern touch to the room. The glass used for splashbacks is typically toughened, making it highly resistant to heat and impact, and compliant with Australian safety standards.
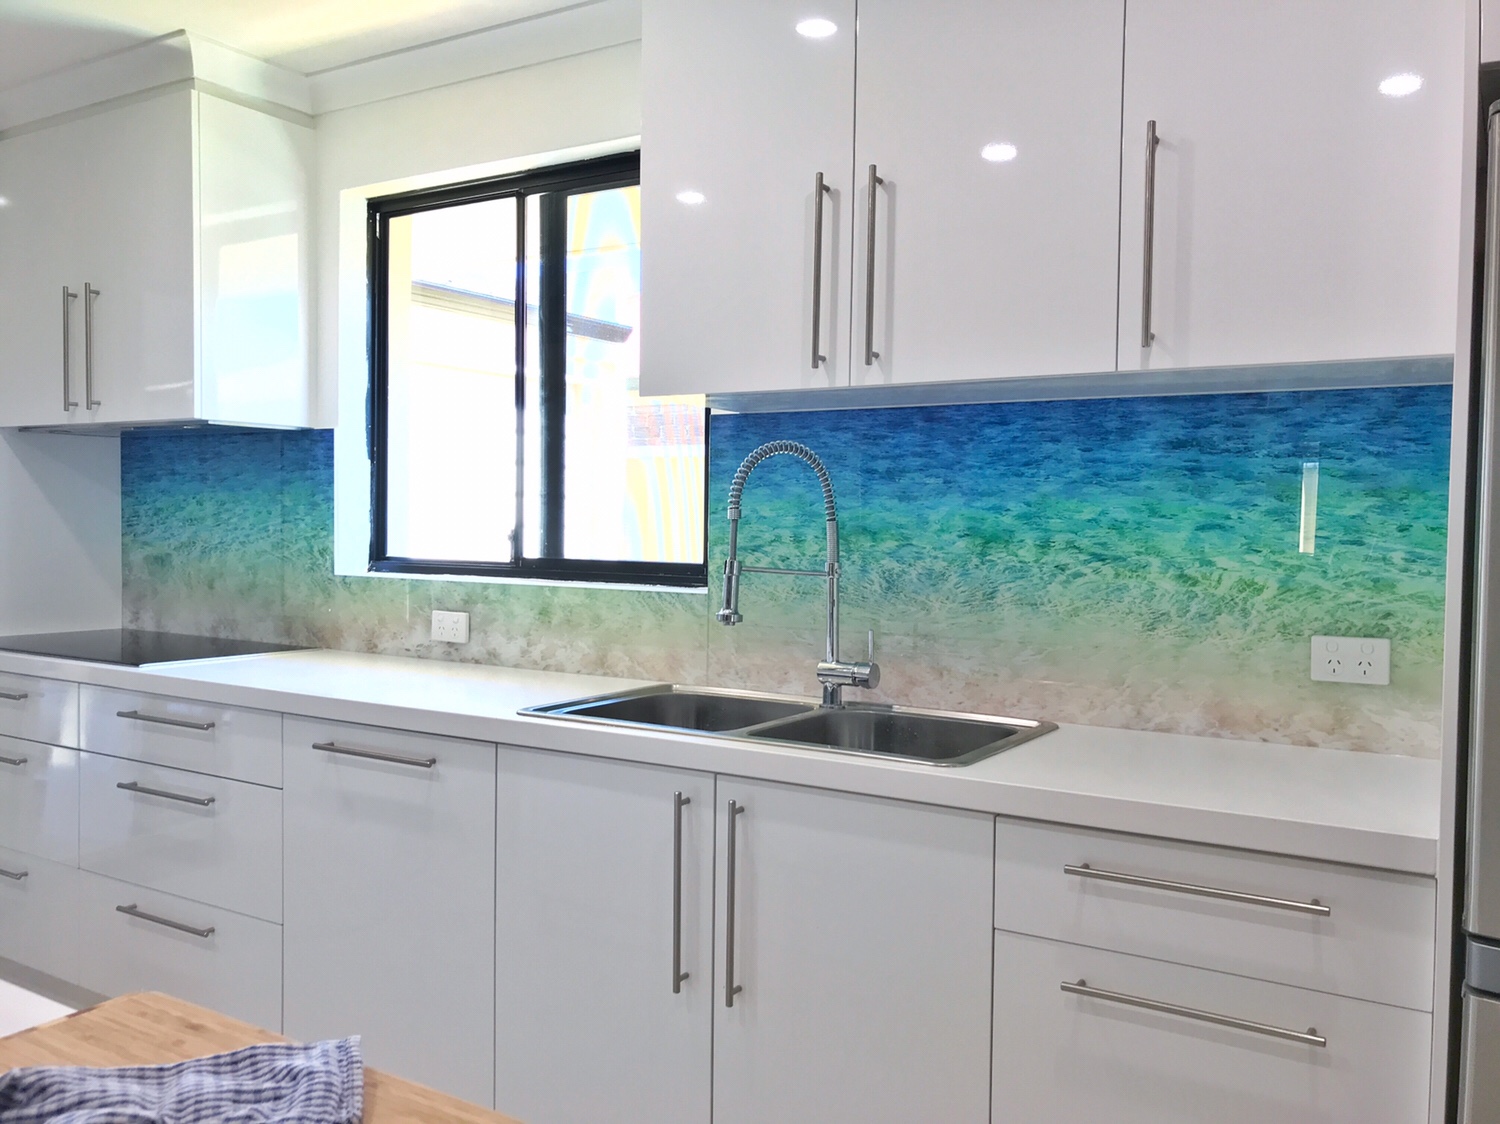
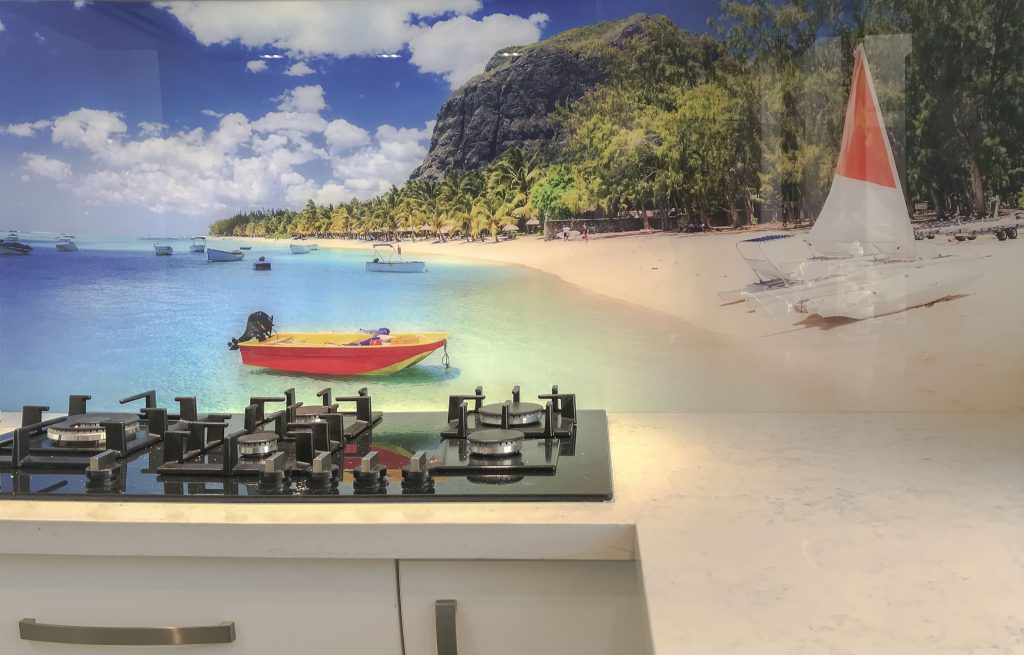
One of the key reasons for their popularity is the vast range of design options available. Glass splashbacks can be customised to any colour, pattern, or image, allowing homeowners to create a unique look that complements their interior decor.
Preparation for Fitting A Toughened Glass Splashback
Before the actual fitting and installation process begins, there are a few preparatory steps that need to be taken. This ensures a smooth installation and a perfect fit for the glass splashback.
Measuring the Area
The first step is to measure the space where the new splashback will be installed. This includes the width, height, and any cut-outs for power points or fixtures, which can be marked out by pencil marks or masking tape. It’s important to be precise with these measurements as they will determine the size of the glass panel required. It also important to ensure the wall is flat, level and dry.
During the measuring process, remember to account for any expansion gaps. These are small spaces left around the edges of the splashback to allow for any expansion of the glass due to heat. The standard expansion gap is usually around 2mm.
Selecting the Glass
Once the measurements have been taken, the next step is to select the glass for your splashback. The glass must be toughened to withstand heat and impact, and should comply with the Australian Standard AS 1288.
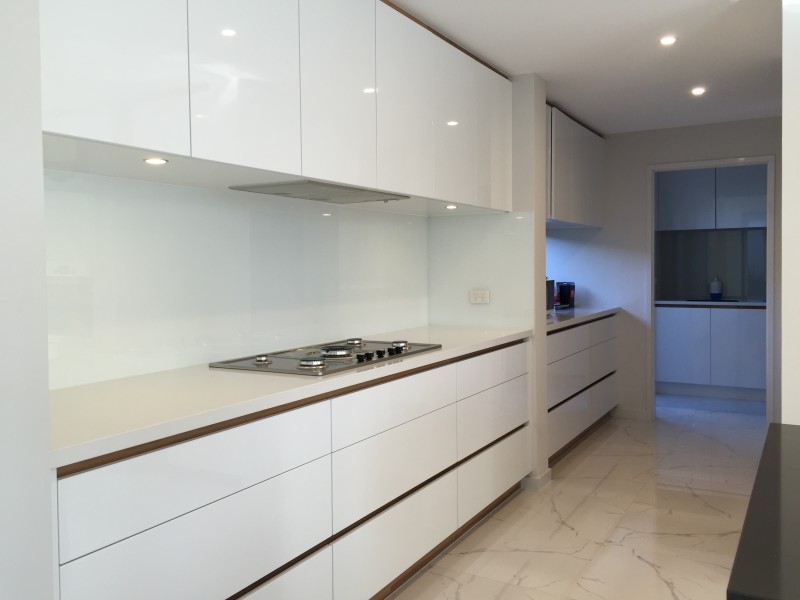
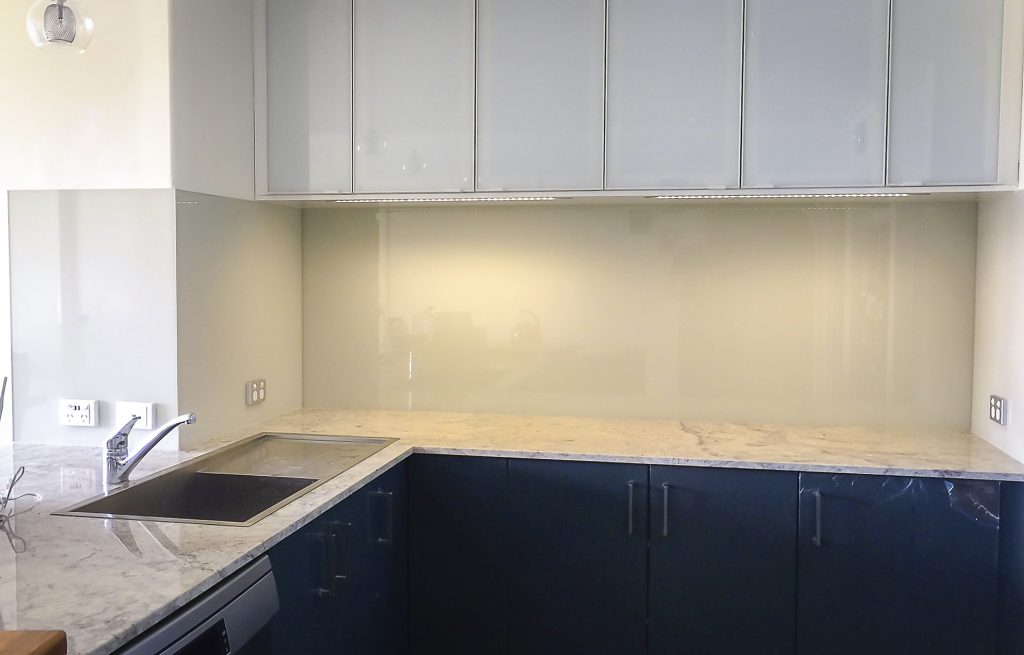
There are various options to choose from when it comes to the colour and finish of the glass splashback. You can opt for a clear, frosted, or tinted finish, and the colour can be customised to match your decor. It’s also possible to have a digital image or pattern printed on the glass for a truly unique look.
The Fitting Process
With the preparatory steps complete, we can now move on to the actual fitting process. This should be carried out by a professional installer to ensure the splashback is fitted correctly and safely.
Applying the Adhesive
The first step to fit a glass splashback is to apply a special adhesive (such as a water resistant neutral cure silicone) to the wall. This adhesive is designed to bond the glass to the kitchen wall and must be applied evenly to ensure a secure fit. The glass splashback installer will typically use a notched trowel to spread the adhesive, creating a series of ridges that help the glass adhere to the wall.
Installing Glass Splashbacks
Once the adhesive has been applied, the glass panel can be installed. The installer will carefully position the glass on the wall, ensuring it aligns with the measurements taken earlier. They will then place pressure and press the glass into the adhesive, making sure it is evenly distributed across the entire surface of the panel.
After the glass has been positioned, it will need to be held in place and the bottom edge supported until the adhesive cures. This can take anywhere from a few hours to a full day, depending on the type of adhesive used. After the adhesive dries, a thin bead of silicone sealant will be applied to the edges to seal the area, making it waterproof and providing a clean finish.
Post-Installation Care
After the splashback has been installed, it’s important to take care of the glass surface properly to maintain its appearance and functionality. This includes cleaning it regularly with a non-abrasive cleaner (such as a simple glass cleaner) and soft cloth to prevent stains and build-up. Don’t use abrasive cleaners or material, as these can scratch the surface of the glass splashback.
It’s also recommended to avoid placing hot pots or pans directly on the splashback, as this can cause thermal shock and potentially damage the glass. Instead, use a trivet or heat pad to protect the surface.
In conclusion, fitting a glass splashback involves careful preparation, precise measurement, and professional installation. With the right care and maintenance, your glass splashback can provide a stylish and practical addition to your kitchen or bathroom for many years to come.
Professional Glass Splashback Installation
For high quality glass splashbacks and expert glass splashback installation services, contact Perth Splashbacks.