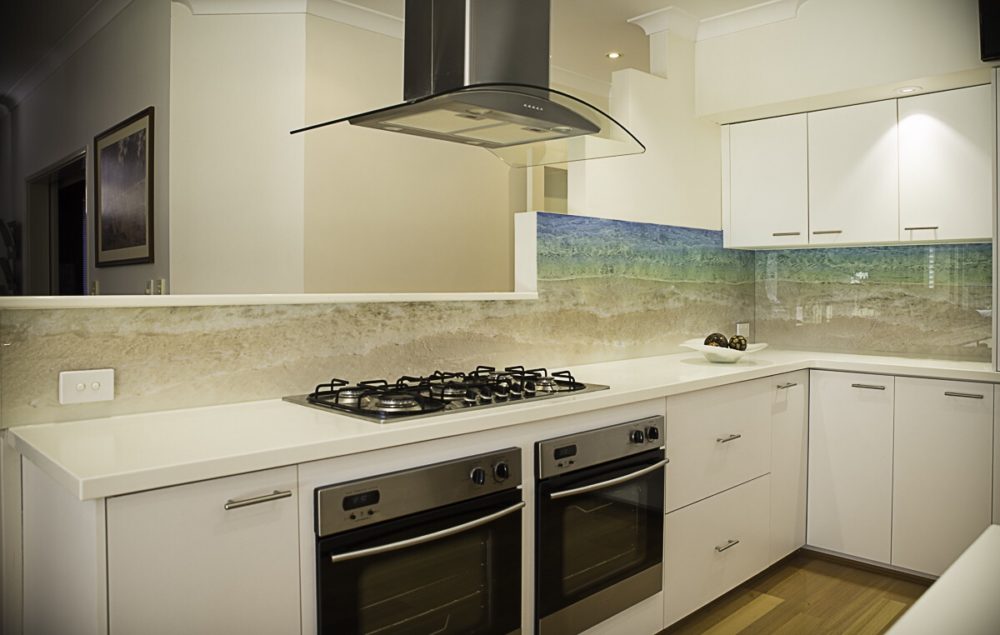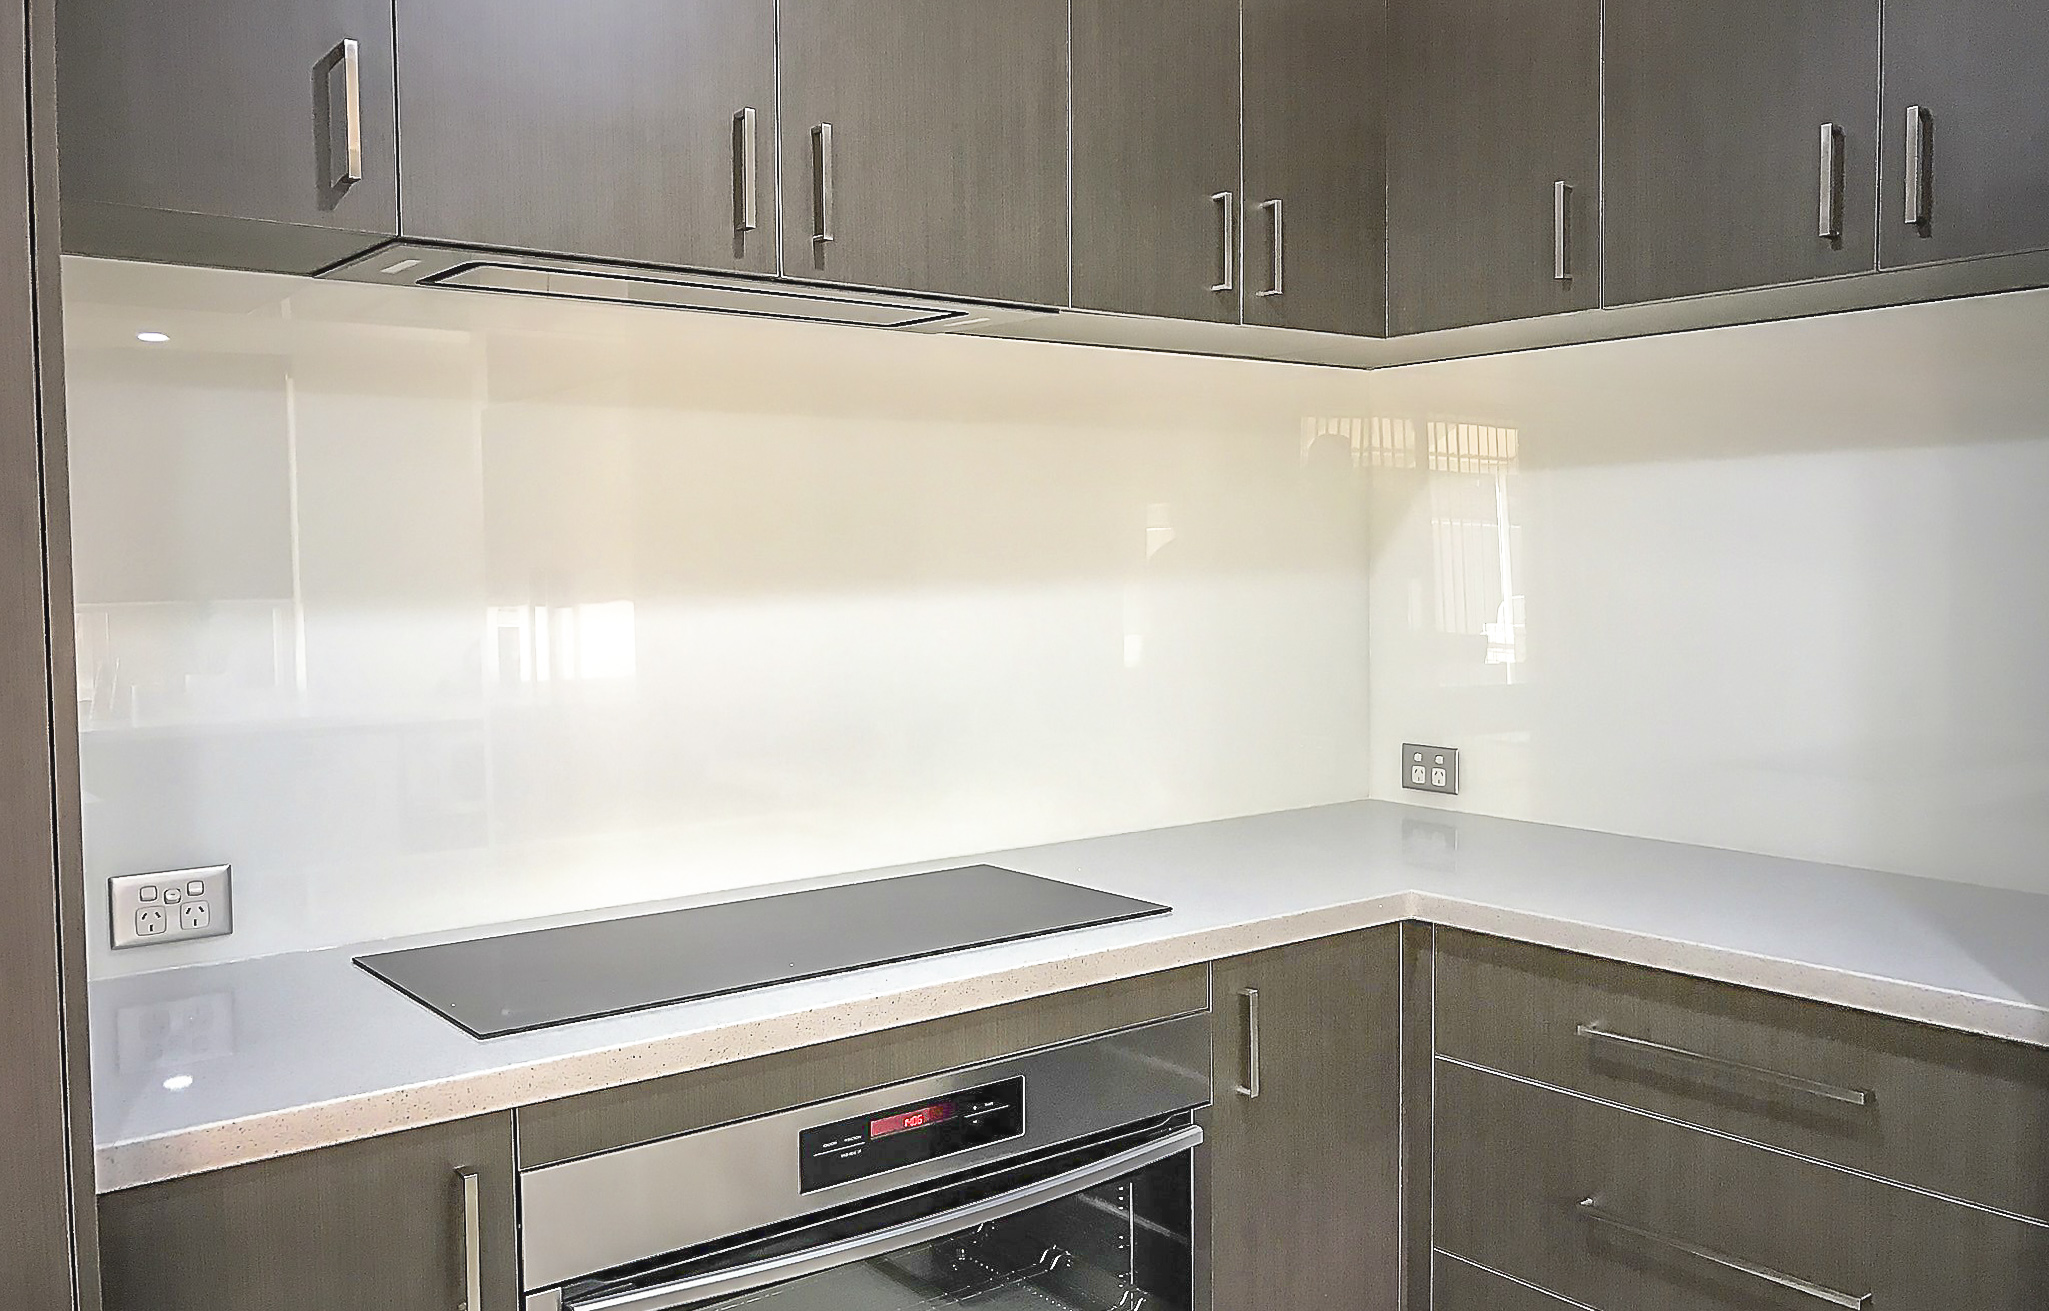
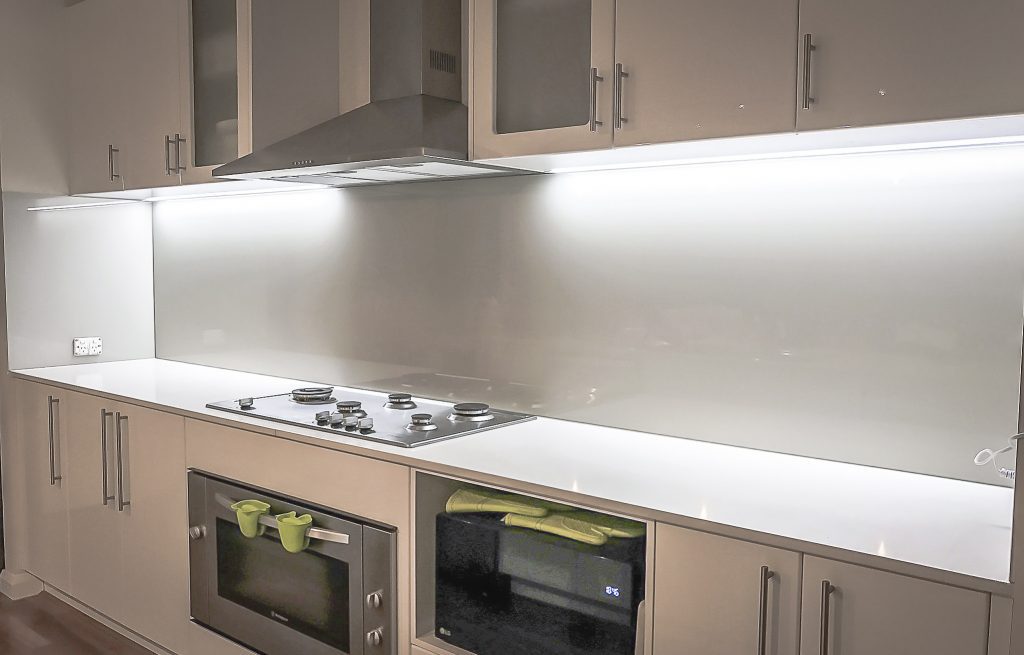
Glass splashbacks create a stunning focal point in kitchens and bathrooms, protecting your walls and tiles from damage and stains.
If you’re looking to update your kitchen or bathroom, one task that you may need to tackle is removing a glass splashback.
Whether you’re wanting to replace it with a new design or need to repair any damage, knowing how to remove a glass splashback properly is essential. In this guide, we’ll take you through the process step-by-step, ensuring that you can complete the task easily and safely.
It’s also worth noting that many glass splashback companies will remove the old glass splashback and can replace it with a new one, so this is an option if you don’t want to remove the splashback yourself.
Necessary Tools and Materials for Removal
Removing a glass splashback requires careful planning and the right tools and materials.
By following the proper steps and using the appropriate equipment, you can ensure a successful removal without causing any damage to the surrounding area.
Safety Equipment You’ll Need
Before you begin the removal process, it is vital to ensure your safety. Here are some essential safety equipment you’ll need:
- Eye Protection: Protect your eyes from any debris that may be released during the removal process. Safety glasses provide a barrier between your eyes and any flying glass shards or dust.
- Gloves: Wear gloves to protect your hands from sharp edges and to provide a better grip on the tools you’ll be using. Opt for sturdy gloves that offer both dexterity and protection.
- Dust mask: A dust mask is crucial to prevent inhalation of any dust or fumes that may be generated during the removal process. Make sure to choose a mask that provides adequate filtration.
By wearing the appropriate safety equipment, you can minimize the risk of accidents and protect yourself from potential hazards.
Tools for Glass Splashback Removal
To successfully remove an old glass splashback, you’ll require the following tools, which can be purchased from any good DIY store:
- Putty knife: A putty knife is a versatile tool that can be used to gently pry the glass splashback away from the wall or tile it is fixed to. Its flat, flexible blade allows for precise maneuvering without causing damage to the surrounding area.
- Caulk removal tool: If the glass splashback is secured with caulk, a caulk removal tool will come in handy. This tool is specifically designed to remove old caulk without scratching the surface on the other side or leaving any residue.
- Utility knife: A utility knife is essential for cutting through any adhesive or sealant that may be holding the glass splashback in place. Its sharp blade can easily slice through the material, allowing for a clean removal. Alternatively you can use a wire cheese cutter to cut through silicone sealant by drawing the wire diagonally downwards.
- Screwdriver: In some cases, a glass splashback may be secured with screws. A screwdriver will be needed to remove these screws and free the glass from its mounting.
Having these tools at your disposal will make the removal process more efficient and the job less less time-consuming. Remember to handle them with care and use them in accordance with their intended purpose.
Now that you are equipped with the necessary tools and materials, you are ready to tackle the removal of your glass splashback. Stay focused, follow the steps carefully and enjoy the satisfaction of completing the task successfully.
Preparing for the Removal Process
Before you start removing the glass splashback, there are a few important preparation steps to take to ensure a smooth and successful process.
Protecting Your Kitchen Area
Remove any items near the glass splashback and make sure your work surface, kitchen countertops, cooker hob and floor are completely covered with protective sheets, drop cloths or a bin bag to prevent damage. This will stop any sharp shards of glass or small pieces of debris from causing damage.
It’s also a good idea to plug your sink to avoid debris or glass falling down the drain and becoming blocked.
Preparing the Glass Splashback for Removal
Inspect the old splashback for any fixtures or adhesive holding it in place. Use a putty knife or caulk removal tool to carefully remove any caulk or sealant located around the outer edges. Loosen any screws or brackets holding the glass splashback to the wall.
Step-by-Step Guide For Removing Glass Splashbacks
Loosening the Glass Splashback
Start by inserting a putty knife or utility knife between the glass and the wall, gently prying it away. Apply steady pressure to avoid cracking the glass. Work your way around the perimeter, from one corner to the opposite corner, slowly loosening the glass from the wall.
If you encounter any resistance, stop and reassess the situation before proceeding. If you cannot cut through the silicone sealant, you may need to break the splashback into smaller pieces using a rubber hammer.
Safely Remove the Glass Splashback from the Wall
Once the glass is sufficiently loosened, carefully lift it away from the wall. If the glass comes off in one piece enlist the help of another person for an extra pair of hands, as glass splashbacks can be heavy and fragile and will shatter if dropped.
Place the splashback on a soft, protected surface to prevent it from breaking.

Cleaning and Repairing the Wall After Removal
How to Clean the Wall After Removal
After successfully removing the glass splashback, you may notice some residue on the wall. Use warm soapy water and a soft cloth to gently clean the area. Avoid using abrasive cleaners or materials that can damage the wall surface.
Repairing Any Damage to the Wall
If you find any damage to the plaster behind or the wall, such as holes or scratches, it’s essential to repair them before installing a new splashback. Fill any holes with spackle or a suitable wall filler, then sand and paint the area to match the surrounding wall colour.
Removing a glass splash back can be a rewarding DIY project that instantly transforms the look of your kitchen. By following these step-by-step instructions and taking the necessary safety precautions, you can safely and easily remove a glass splashback, allowing for a seamless transition to a replacement splashback or repair work.
Remember to take your time, be patient and seek professional help if needed. If you require professional glass splashback removal and installation services, contact Perth Splashbacks.